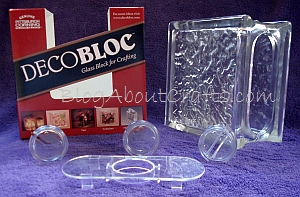
 I found myself with one of those great glass blocks made for crafting – see DecoBloc review. My glass block came with a nice big hole and several inserts.
Most people decorate the outside of these glass blocks and put lights in them. The particular DecoBloc I have has a texture on the inside which is designed to be used with lights.
I love the look of a lit glass block, but, I’ve never really liked being able to see all the cords and light fixtures through the blocks. So, I had an idea and thought I would share with you the results.
If you use Pinterest, you have probably seen the pin making the rounds that shows tinting Mason Jars with Mod Podge. Could it be the perfect idea for my glass block project?
Since Mason jars are smooth on the inside, I wondered if the Mod Podge glass tint trick would work with a textured or grooved surface. My glass block had a seam and lots of waves in the glass. Would it work or create a stripy mess? That led to my coloring glass with Mod Podge experiment.
I didn’t want to ruin a $10 glass block but, since my experiment was such a resounding success, I was ready to give my glass block project a try.
Glass Block Project
I wanted my glass block to be purple. I love purple and I wanted my glass block to be purple, simple as that. I still have no idea what else will be included in my glass block project but it shall be purple. And the two matching glasses from my experiments will be a matching purple too!
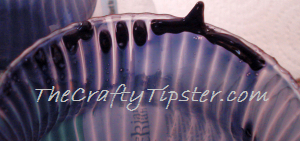 I followed the same process that I did in my experiment but may have rushed things a bit. I learned the hard way that you have to allow all of the excess glaze to drip out of the piece before you put it in the oven. It does not melt away and it will create a bit of a globby mess, as you can see.
It can be scraped off, new glaze applied and refired but it still comes out looking a bit messy.
I got lucky with my glass block project. There was a bit of globbiness on that too but thankfully it gathered in one spot, on the outside of the block and was easily removed while the glaze was still warm.
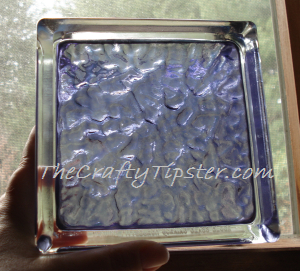 It took much longer for the Mod Podge glaze to dry on the glass block than it did for the glasses. I just left it in the oven and went about my business. I think I had it in the oven for around 2 hours.
I suspect it took longer for the thick glass to get warm. In fact, there’s still some glaze that hasn’t dried completely under the block opening. Again, had I let more of the Mod Podge glaze drip out before putting it in the oven, it might not have gathered in the lip of the block like it did.
It’s been about 24 hours since I took it out of the oven. It is continuing to get drier and darkening as it dries so hopefully in a few days it will be completely dry.
Even with the mishap, I think my glass block project came out great.
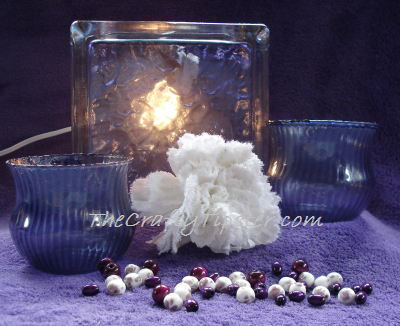
Here’s my glass block lit from within and displayed with the matching glasses. I know the picture doesn’t show it but all three pieces are the same color of purple.
It’s a bit hard to tell from the photos, but my glass block is much more purple than the picture is showing. (My purple blanket backdrop sadly looks more blue than purple just like the glasses. Note to self – learn how to use your darn camera better.)
The wet glaze color was a muddy blue-purple color that I was afraid wouldn’t result in the plum color I was hoping for. The true color of my glass block project is similar to the color of grape jelly. I wish I could get a proper picture of it – it’s beautiful.
I still don’t know if I’ll do anything else with my block, it’s just so pretty the way it is.
